PfSense is a computer software distribution based on FreeBSD. It is installed on a computer to make a dedicated firewall/router for a network. The main advantage of this system is reliability and wide range of network functions and tools. Most of them can be found only in expensive commercial firewalls. Name of the system comes from the fact that it helps make the stateful packet-filtering tool PF make more sense to non-technical users. Current available version is pfSense 2.2.2 was released on April 15 , 2015 and we will cover this article how to install it.
Note
: pfSense 2.2 has moved from racoon to StrongSwan. We have seen many vpn's breaks after 2.1.5 to 2.2 upgrade.
Installation process
Download an iso-image from closest available mirror, burn it onto CD and boot from them. After boot you will see

Here is a simple installation menu where you can select installation options and make some other actions.
Press ENTER and wait a little time until appear something like this

Type the “I” for launch the installer. What you will see in the next moment is a installer:

Here you can change several installation options. Then select “Accept these Settings”.
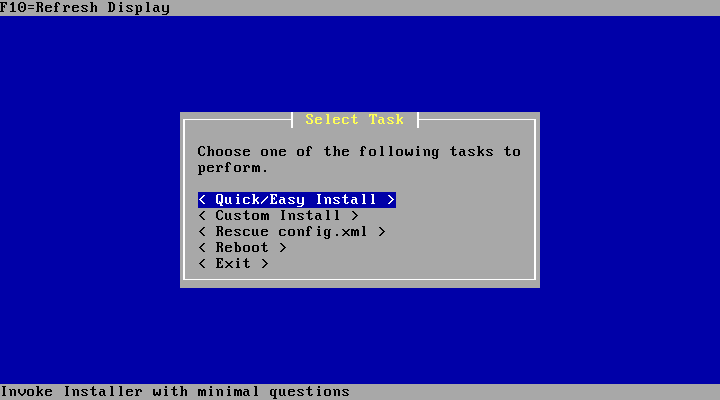
Now select installation way. You can switch between options and read notes in the bottom of the screen. Here we describe a “Custom install” way.
First screen after ENTER on “Custom install” is a disk selection:
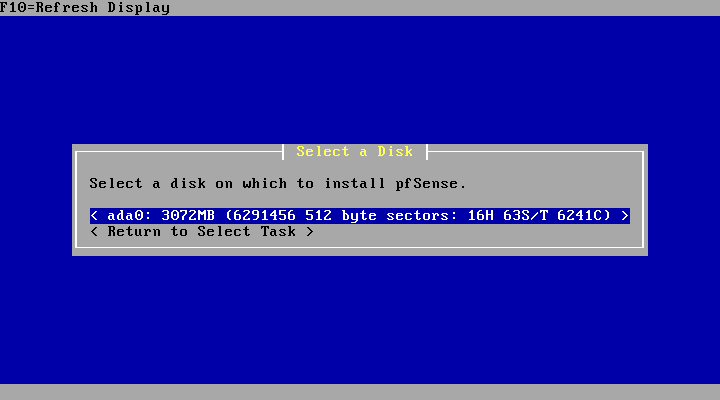
Here you can see your available disks. Select preferable and push ENTER.

Recommended to format selected disk. If you do so you see format options:

Set preferable settings (or leave default values if you don’t know that is this) and select “Use this Geometry”. Then confirm formatting.

Next step is about partitions. You can skip it too if partitions already exist. Otherwise select “Partition Disk”.

Here you can do anything you want with partitions and then select “Accept and Create”.
After that you will see something like this:

Next menu prompt us to install bootblocks. You can select one or multiple partitions or skip this step if needed.

In case of selection a variant “Accept and Install Bootblocks” you will see:

Then appear dialog about primary partition.

Select preferable one. Remember, this partition will be formated.

Now is time of subpartitions.

As you see, we create small swap and leave the rest for root.
Finally start the installation process.

Last question is about kernel. You can select between standard and embedded.

Select “Standard Kernel”. And the installation process is finished.

After reboot you will see a fresh pfSense.

Thats all. We have completed installation steps and will soon publish another article on pfSense configuration.
Original Post : Linoxide.com
Leave a Reply